

Hive Lamp : 7 Steps (with Pictures) - hardinaporged
Introduction: Hive Lamp
This is a 3.5 foot tall 3D printed LED lamp.
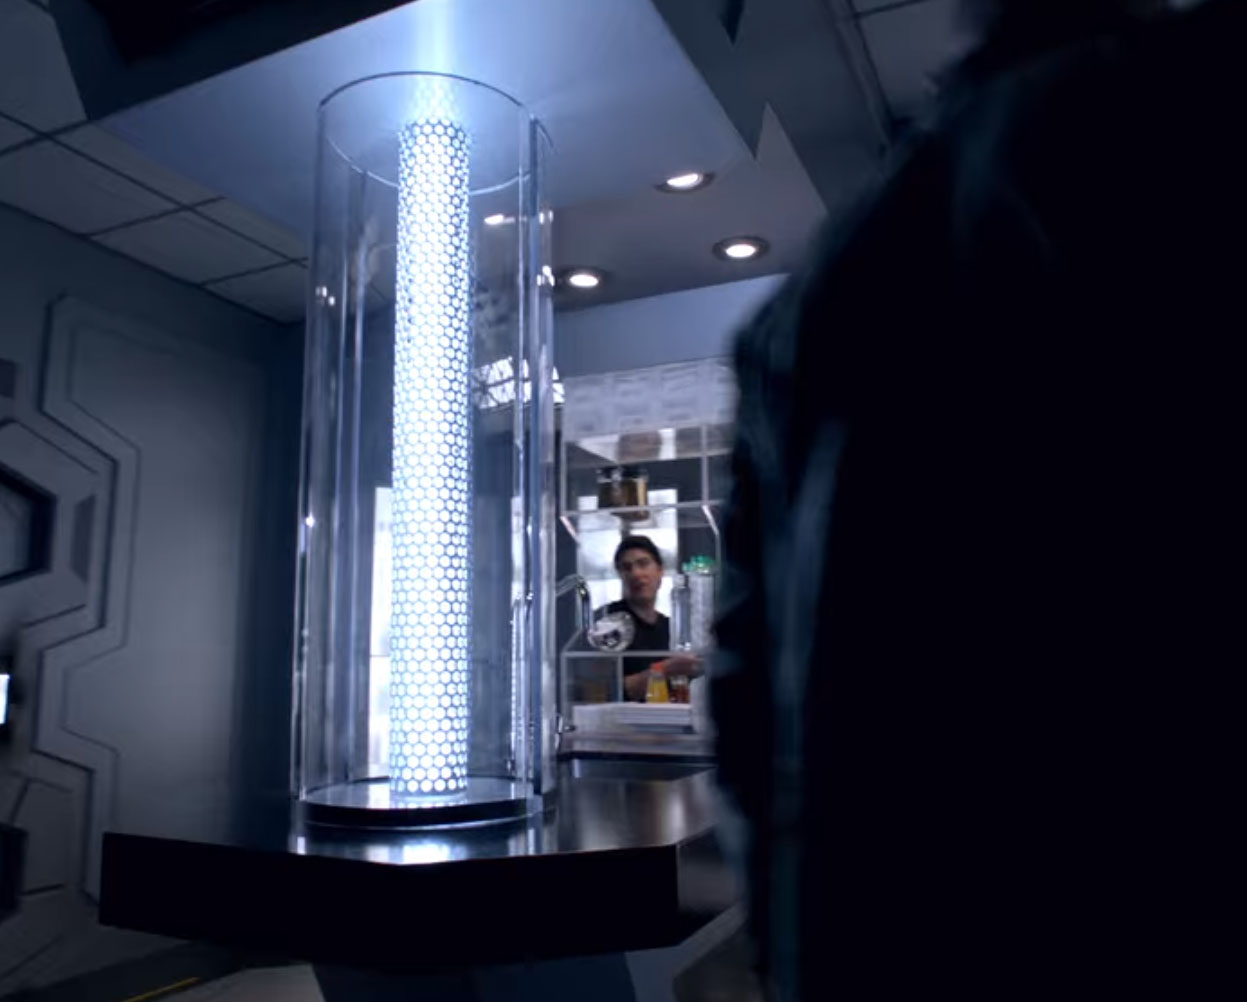
It built forbidden of 21 parts that took about 90 hours of printing. The inspiration for this stick out came to me while I was watching Direct current Legends of Tomorrow in back 2022. I saw a light-colored glowing hive lamp that looks amazing and I wanted to establish one for myself. And this is what I did :)
The project took me a piece to complete, since I don't the likes of to provide my 3D printer running without my attention, I had to print those parts when I'm home (6-7 hours of printing process for the big parts).
Supplies
1x Acrylic Tube (I.D: 94mm O.D: 100mm Height: 1m)
1x Carton Tube (O.D 54mm, I.D: 44mm, Height: 1m)
1x ESP32
1x 5m Light-emitting diode Strip WS2812B (60 LEDs per meter)
1x 1000uF Capacitor
1x 470ohm Resistor
1x bondo 901 Constructive Metal
1x 3M Scotch Gel Glue
16x M4 Screws
16x M4 Nuts
6x M3 Inserts
6x M3 Screws
Step 1: 3D Printing
Print all the parts according to 3d-printing-assembly.pdf file.The solution of the publish is depends on your available time. The finer you black and white the better it gets and less sanding at the end.
Step 2: Gluing, Filling and Sanding
To glue the main parts I user 3M Cross Gel Glue, I saved that its viscosity and cure time was perfect for the job, but if you can see something ilk this it can work too. I've glued 2 parts each time and put dumbbells weights on them until the glue healed.
After all the parts were glues together the parts had microscopic gaps between them that were want to be filled.
I've put-upon 3M bondo plastic metal 901. IT has short solidifying time so I work in small parts speedily.When all the gaps were filled I've send it to make it flush with the written part.
The third part was to spray key all the massed dispense with weft fuse sol IT potty fill every last the 3D printed gaps (Rust-Oleum, Grey-haired, GrayRust-Oleum). Right away the main sanding work starts, the entire come out of the lamp was requisite to be Sand with find grade. Once the show u is clean and smooth you force out paint it. I've used achromatic color to touch the reference I power saw but you can select whatever color you like.
Step 3: LED Strip Gathering & Wiring
I've wrapped the LED disrobe around the cartonful tube and at the cardinal ends I drilled holes so the wires give the axe go through.
The LED strip is 5v and can draw up to 18A! so you need a powerful big businessman supply.
To avoid (or at any rate minimize) the color change across the strip imputable voltage drop you involve to inject the power in both sides of the slip and it wish be useful to bash it also in the middle of it.
This will go along the color fifty-fifty throughout entirely the strip length.
At present it is just bu telegraph information technology to the ESP32 and the power source directly alike in the attached wiring depiction.
Step 4: Light Diffuser
The first idea was to use a semi-transparent white acrylic tube. Since I couldn't managed to get one, I've used clear acrylic tube, and to distribute the light I used rolled parchment paper inner the tube.
Step 5: Concrete Base
To draw the whole structure sound I've made a concrete base. The inner part of the immoral was 3D printer and so IT can Be attached easily to the lamp with M4 screws.
To the inner part I've glued "legs" to restrain some inserts so I keister cover IT and good IT with M3 screws. The inner part also includes "burrow" so later we can flip some wires from the ability connector (DC 5.5mm sea do).
This whole inner structure was centered in 18cm lubricated stainless steel circle so it can be removed easily later o on. My concrete mixture was 50% cement and 50% sand, you can looseness with the ratio to get the desired texture. Spell the concrete was soft I misused 3D printed stomp to make believe a mark happening it. Now the ready part begins, you should give it to rest at to the lowest degree one and a one-half week before you can usance it. When IT is in its 70%+ strength it is off the hook to handle without worrying that it is going to crack and break. While the concrete is curing I kept spraying it with water once in a while to keep IT moist, this reduce the probability for cracks.
Later on the based is cured I used gauzy spray rouge then sealing wax it.
Step 6: Secret writing
You can get the source code for the ESP32 firmware in my GitHub repository.
I'm also functioning on Flutter based mobile app, it is also in the depository under the mobile_app branch.
Step 7: Final Results
What next?
I need to complete the versatile app, create a dedicated PCB for it and replace the RGB slip with RGBW cartoon strip to get true unalloyed white color.
Cost the First to Share
Recommendations
Source: https://www.instructables.com/Hive-Lamp/
Posted by: hardinaporged.blogspot.com
0 Response to "Hive Lamp : 7 Steps (with Pictures) - hardinaporged"
Post a Comment