

How To Replace Iphone 7 Screen And Digitizer
iPhone 7 Full Teardown for Screen, Battery And Charging Port
BY kaye | September 21st, 2016 | | 16
Home » TUTORIAL » iPhone 7 Full Teardown for Screen, Battery And Charging Port
After months of speculation and impatient waiting, Apple has finally announced the iPhone 7 and iPhone 7 Plus. The excellent camera, A10 Fusion chip, wireless headphone, the new iPhone 7 impressed all a lot, here we're going to disassemble iPhone 7 to offer some repair tips when fix LCD screen, battery or charging port flex cable etc.
Tools Needed:
- Heat gun or hair dryer
- Suction cup separator
- Phillips screwdriver
- Tri-point screwdriver
- Pentaloble screwdriver
- Tweezers
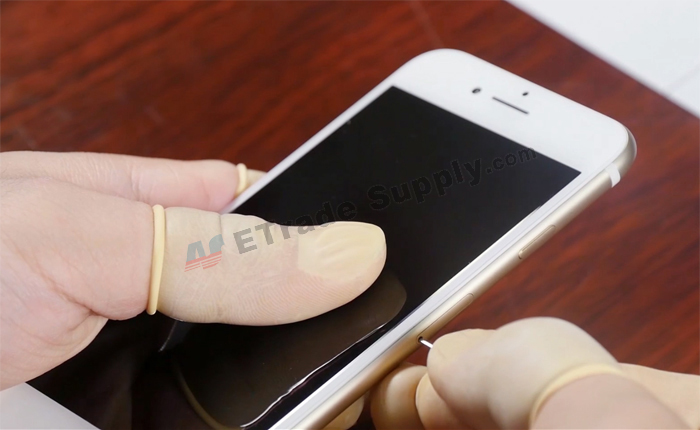
Step 1. Shut down the device then take out the SIM card tray.
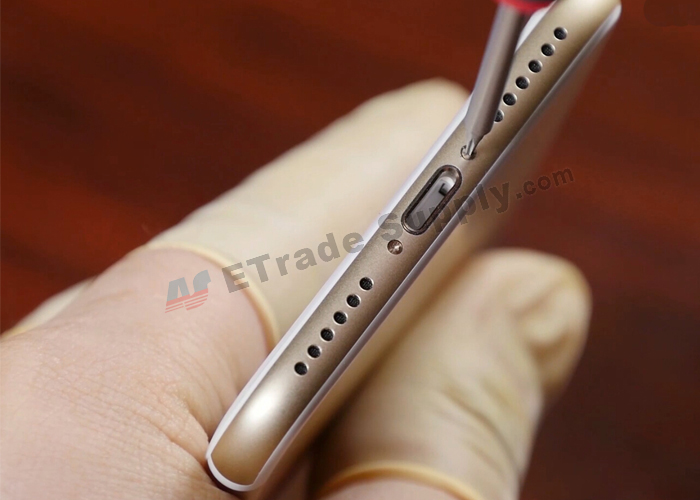
Step 2. Undo 2 Pentalobe screws on the bottom of the device. (Same screwdrivers as 6S/6S+/6/6+, however, the screws are a little bit longer)
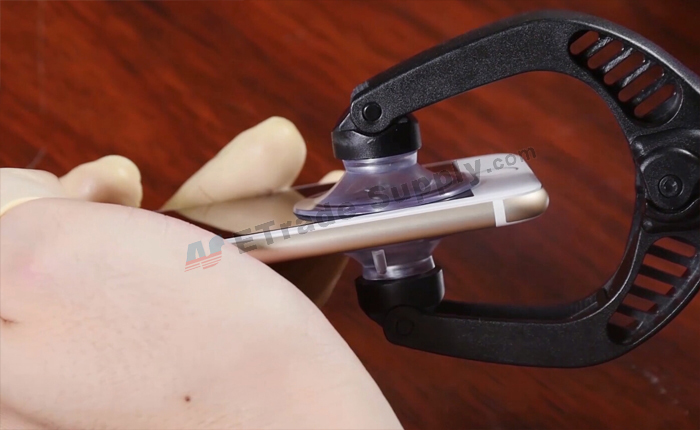
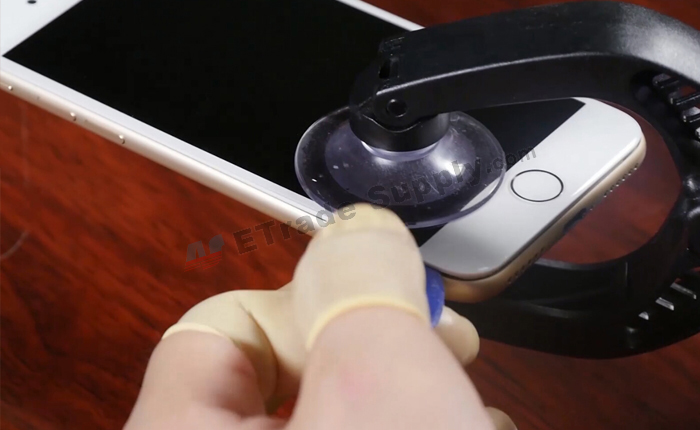
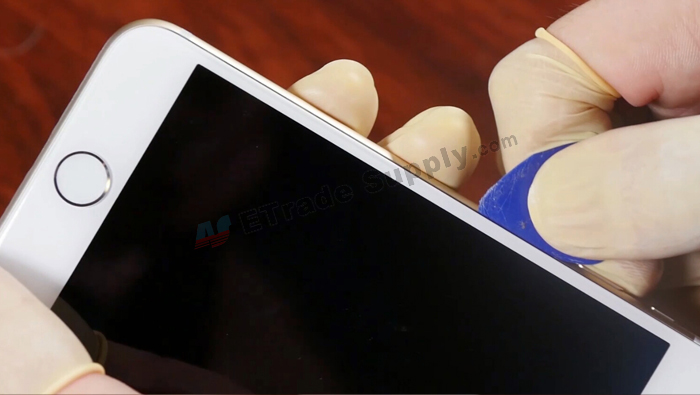
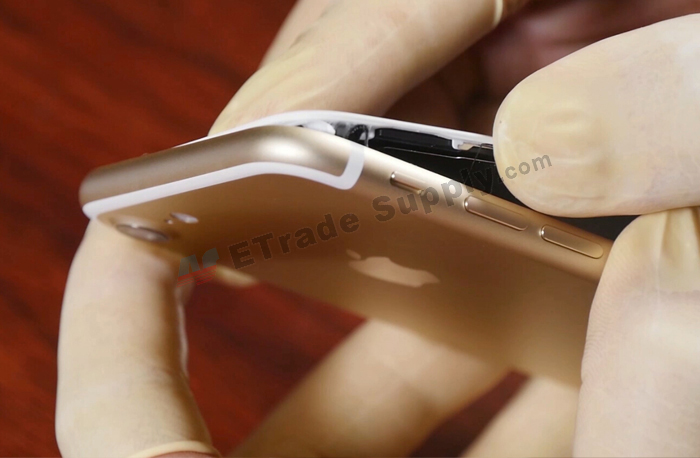
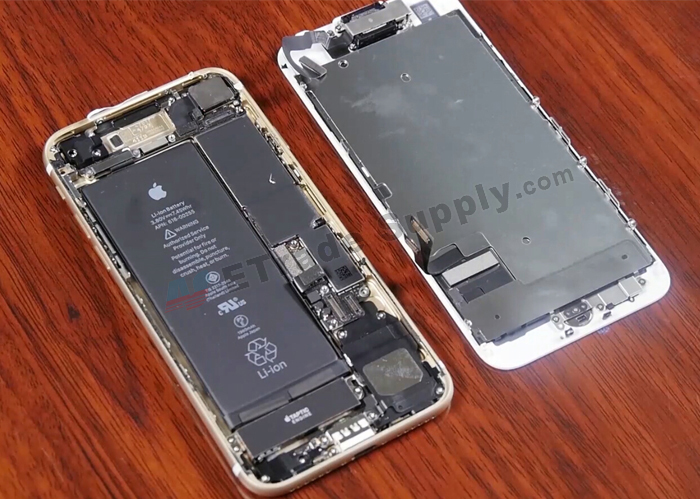
3. Heat up the edges of the device, separate the screen assembly and the rear housing assembly with the help of a double-sided suction cup. (the flex cables of the screen are on the right side of the phone, take your time here in case of breaking any of them)
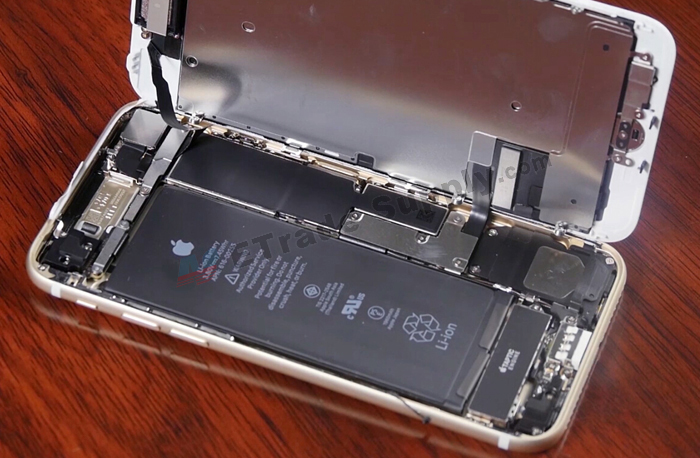
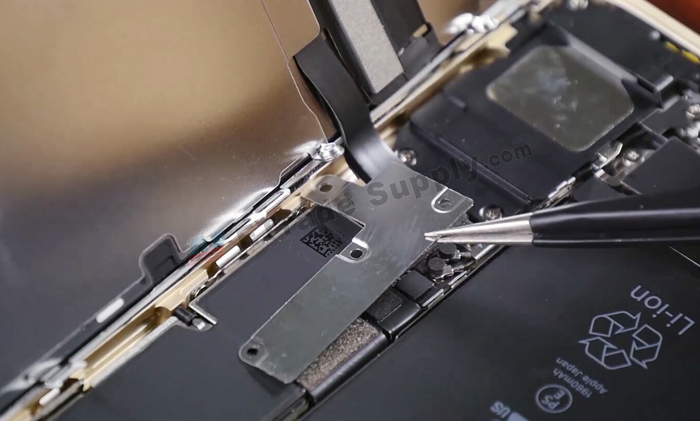
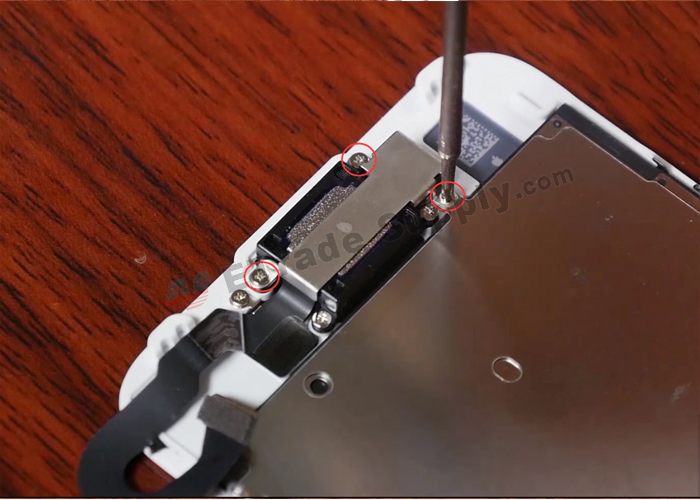
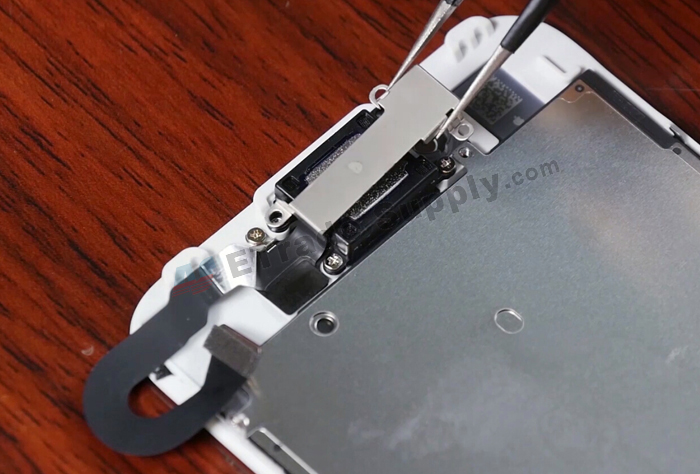
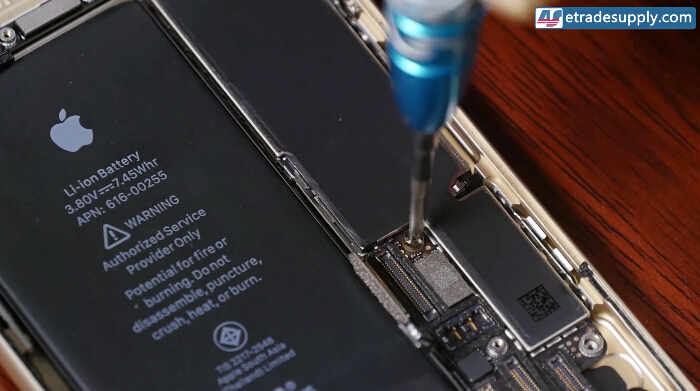
Step 4. Undo 4 triangle screws (the same triangle head screwdriver used on Apple watch) holding the metal shield covering the battery, LCD display and digitizer connectors.
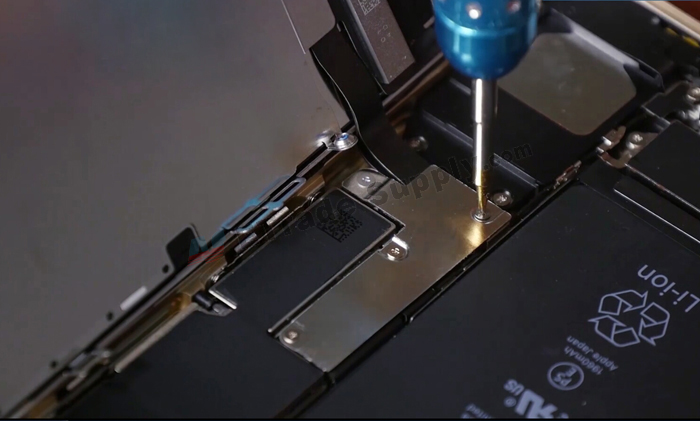
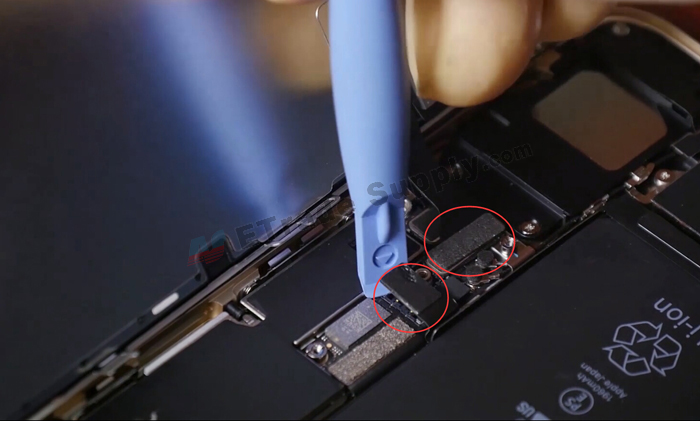
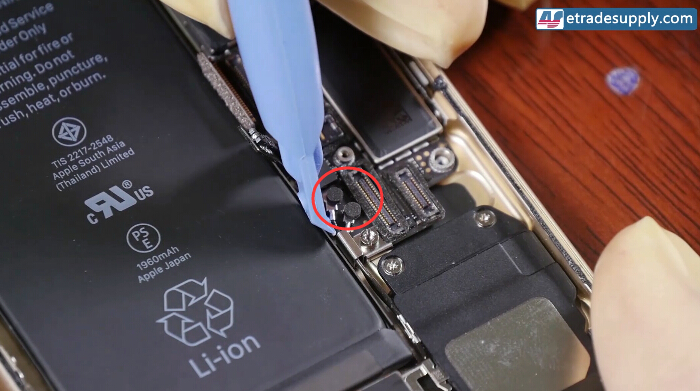
Remove the metal shied, release battery and screen connectors.
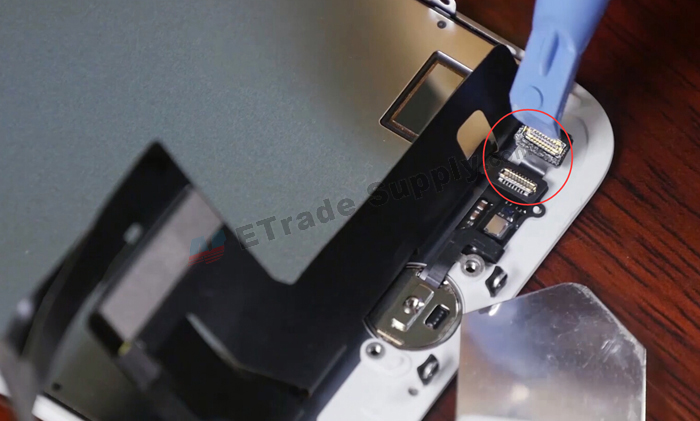
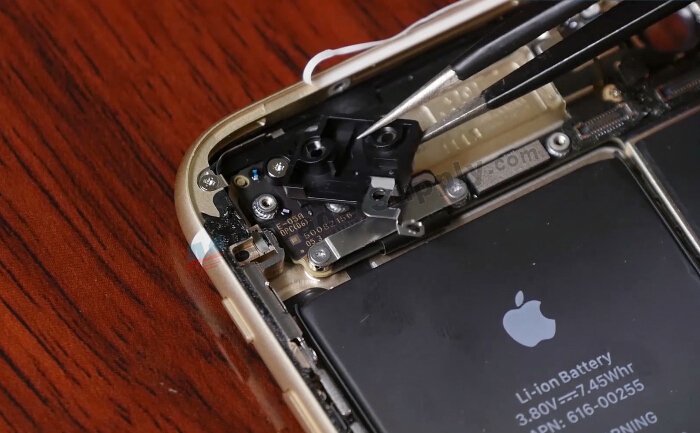
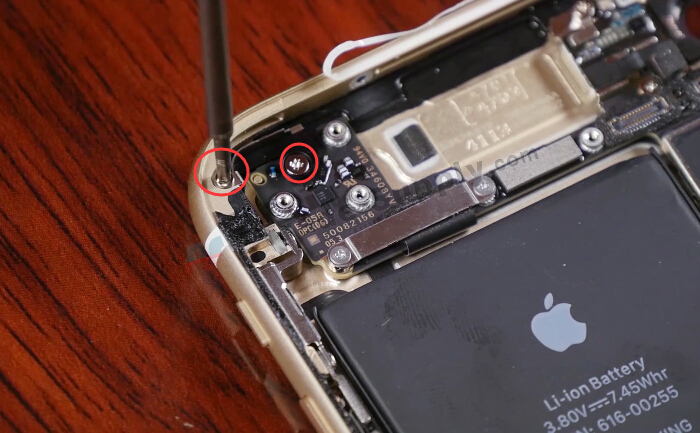
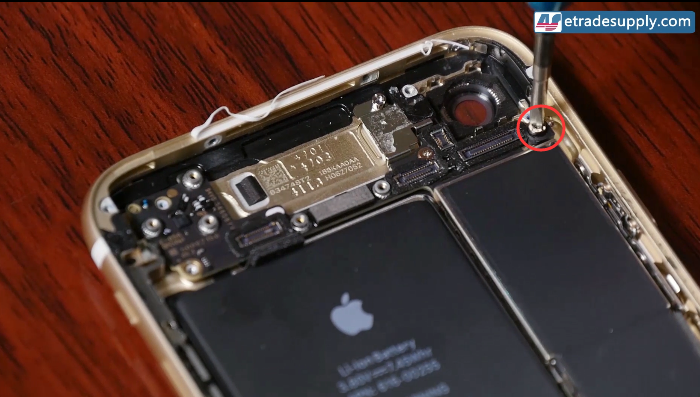
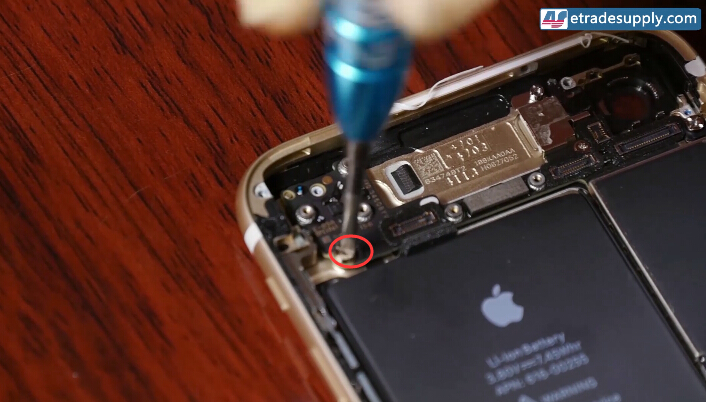
5. Undo 2 Philips screws and its metal shield, then disconnect the front-facing camera flex cable.
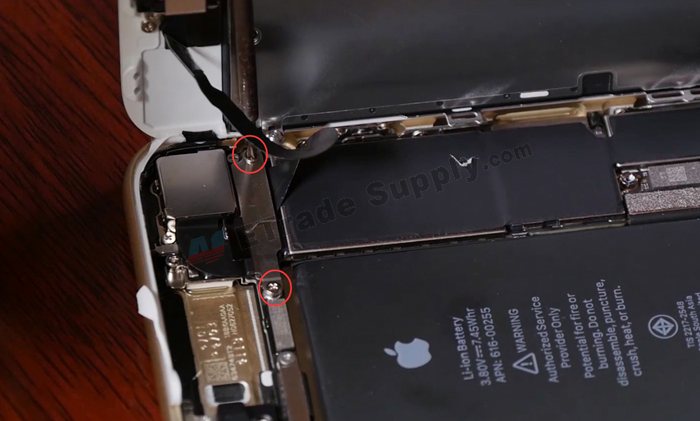
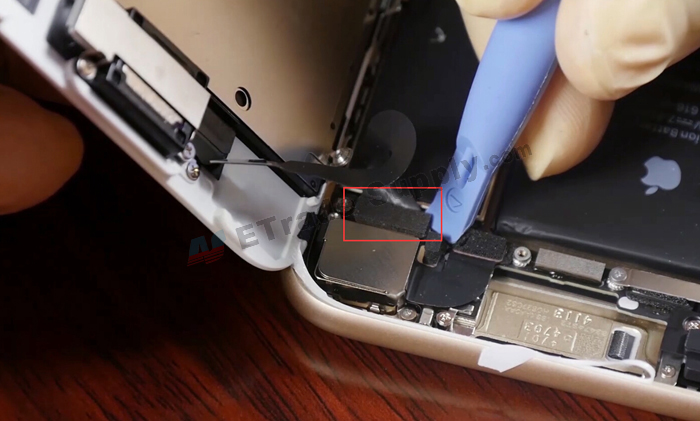
Then the screen assembly can be removed now.
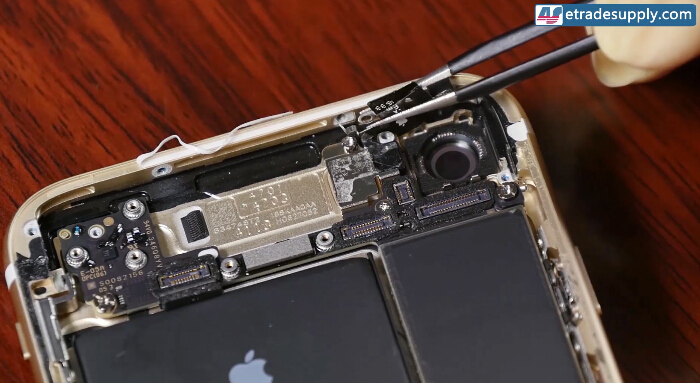
Step 6. Undo 3 small Philips screws holding the front-facing camera metal shield and then remove the metal shield.
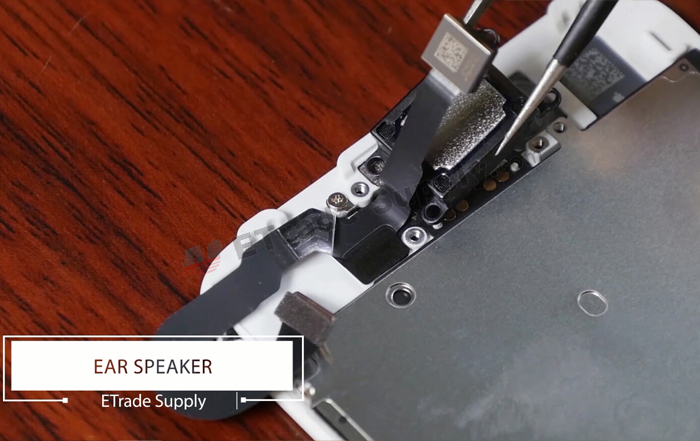
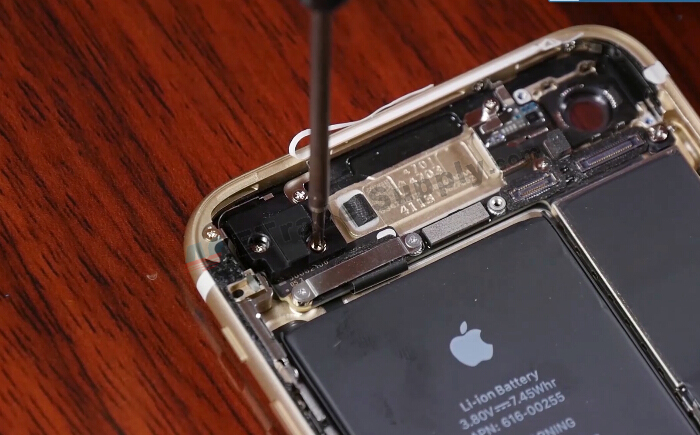
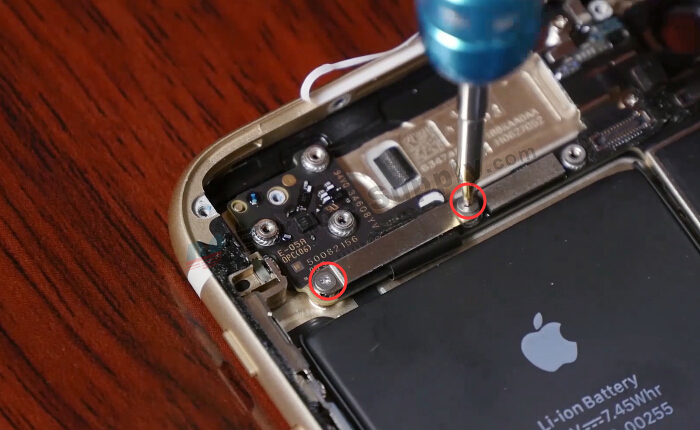
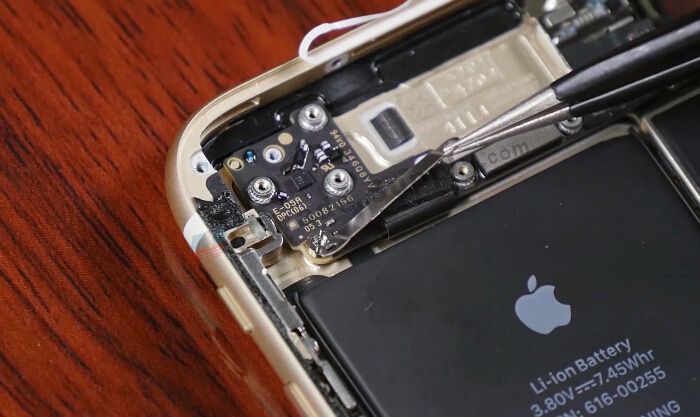
Step 7. Undo 2 small Philips screws holding the earphone.
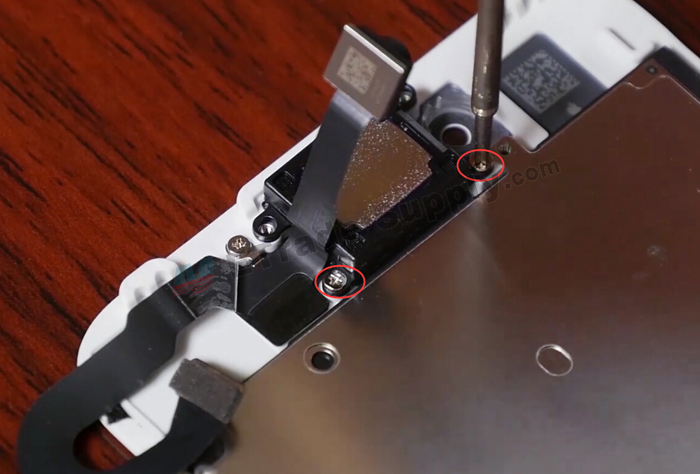
Then remove theear speaker.
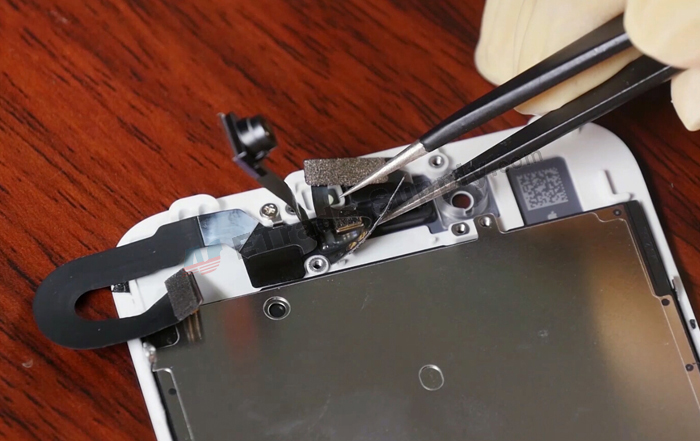
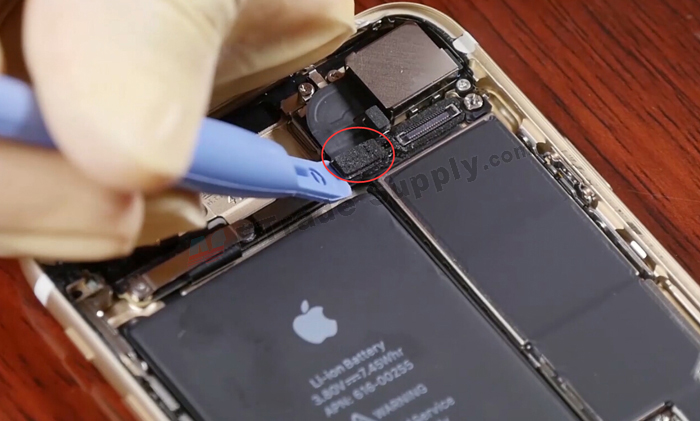
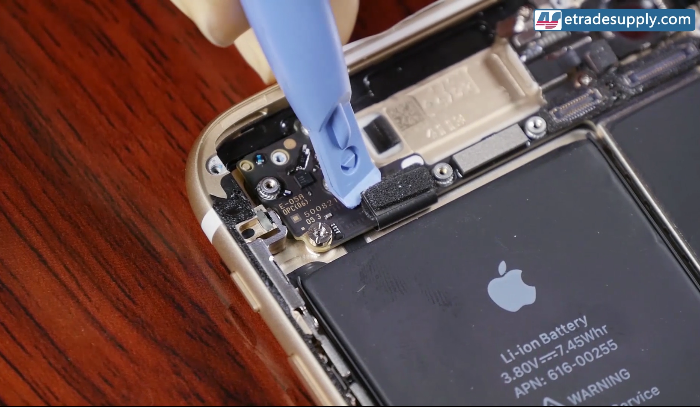
Step 8. Apply proper heat then pick up the front-facing camera with light and proximity sensor.
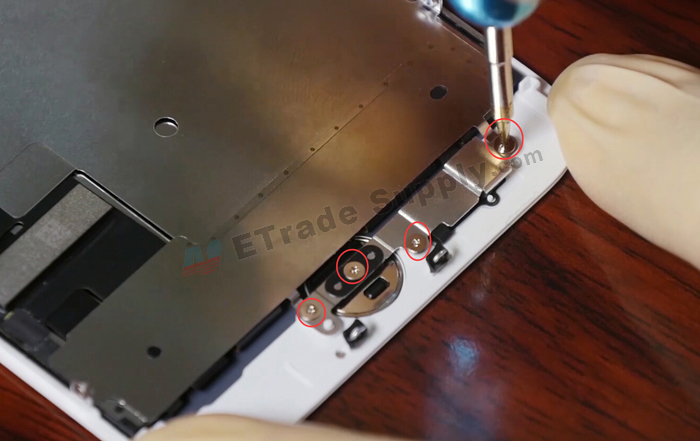
Step 9. Undo 4 triangle screws holding the home button metal shield.
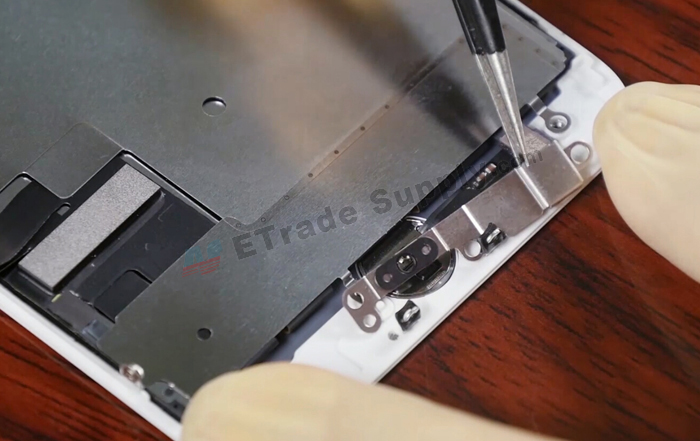
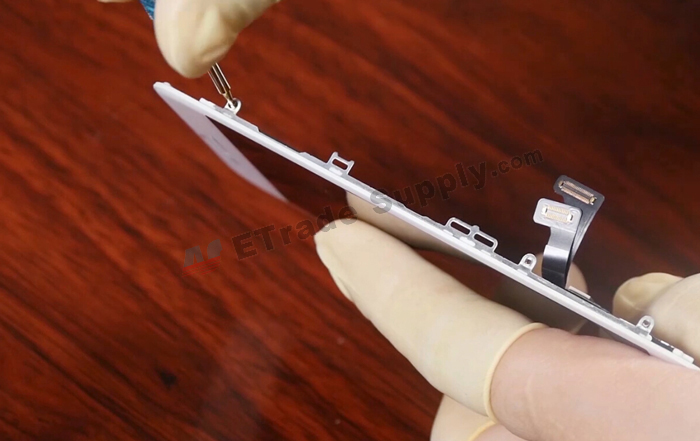
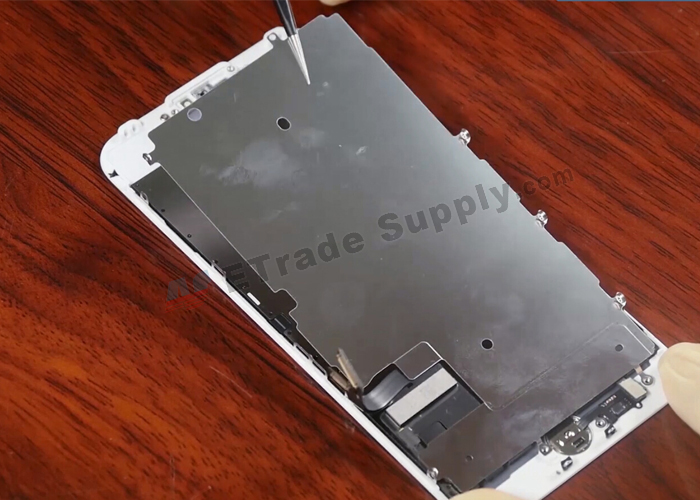
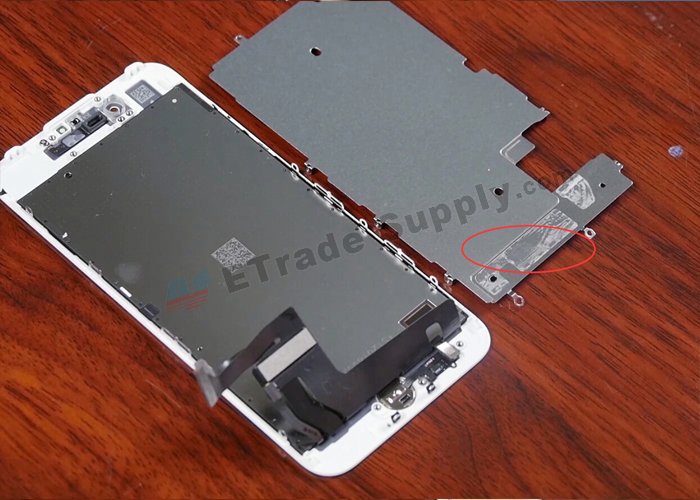
Step 10. Undo 6 triangle screws holding the metal shield. Be careful, the LCD and digitizer flex cables are bonded to the metal shield on its back!
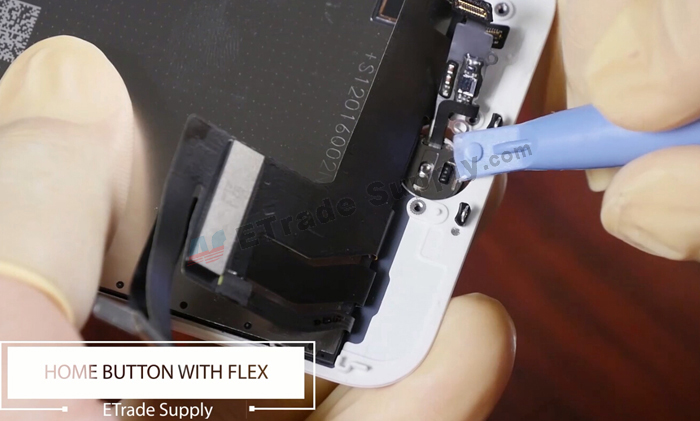
Step 11. Disconnect home button flex cable connector, apply some heat to loosen the home button flex cable, then press down the home button.
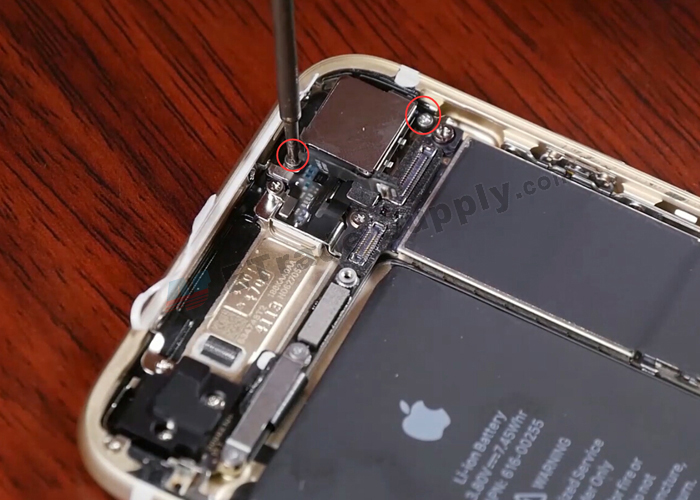
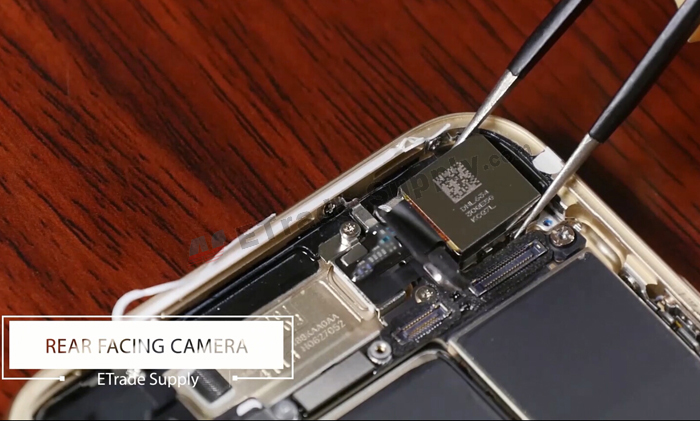
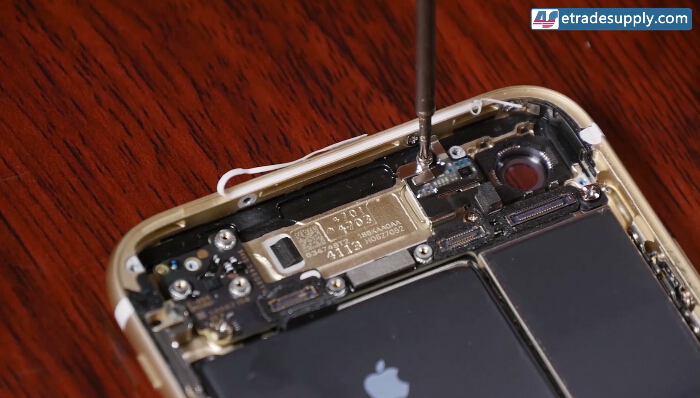
Step 12.Undo 2 small Philips screws holding the rear facing camera then release it
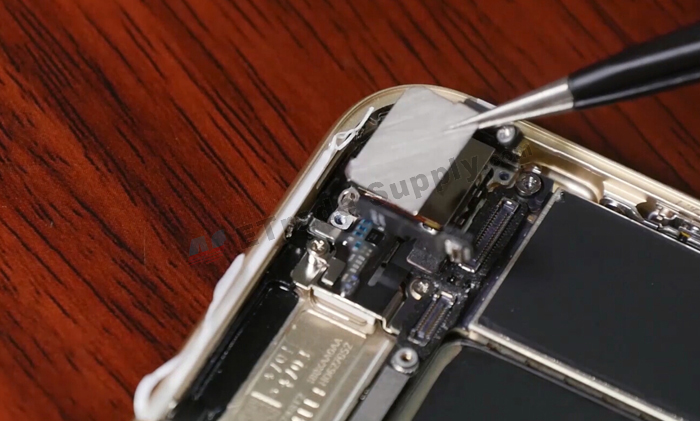
Step 13. Undo 3 small Philips screws holding the Wifi antenna metal shield then 2 Philips screws under it, then you can remove the wifi antenna now.
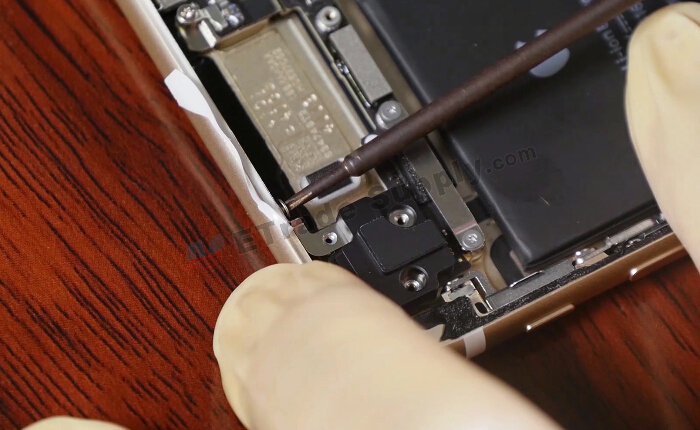
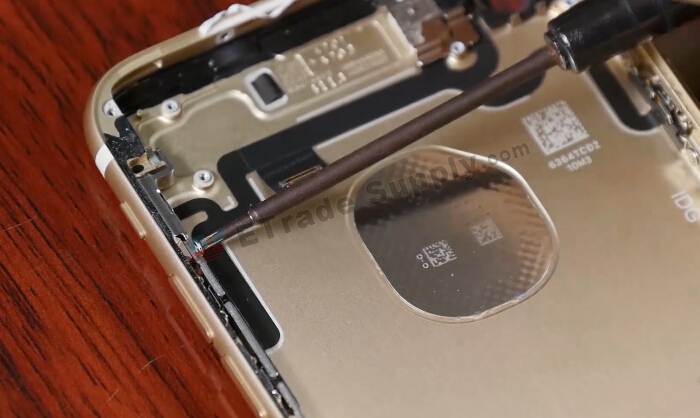
Step 14. Undo 2 triangle screws holding the side keys metal shield.
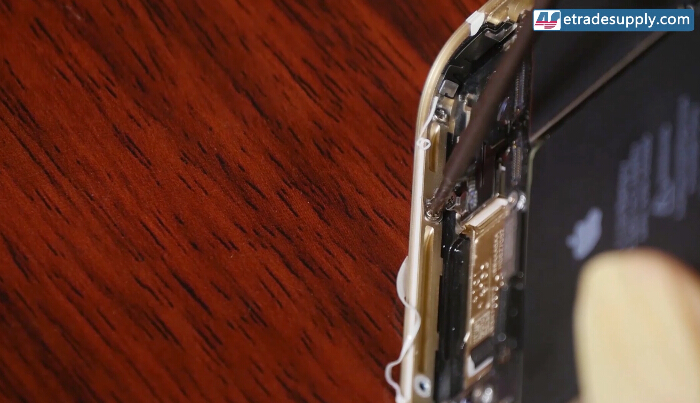
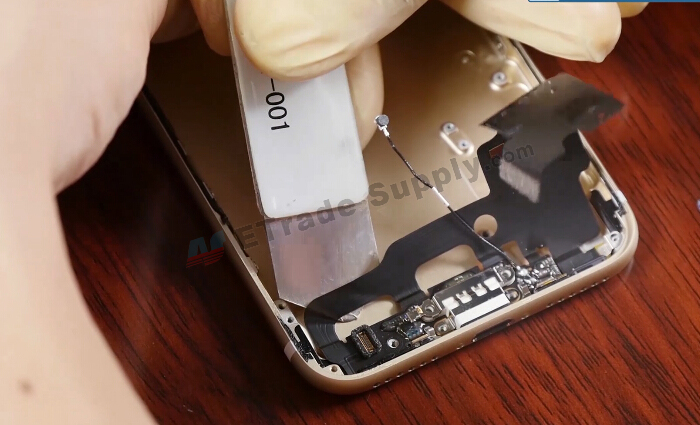
Step 15. Undo 2 small Philips screws then remove the antenna then you can remove antenna flex cable (be careful when prying up the antenna flex which is stuck to the rear housing).
Here we need to undo 2 Phillips screws and remove the metal shield cover before releasing the side button flex cable connector.
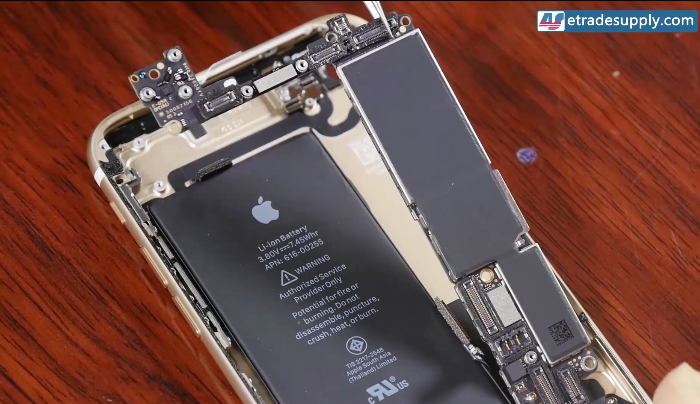
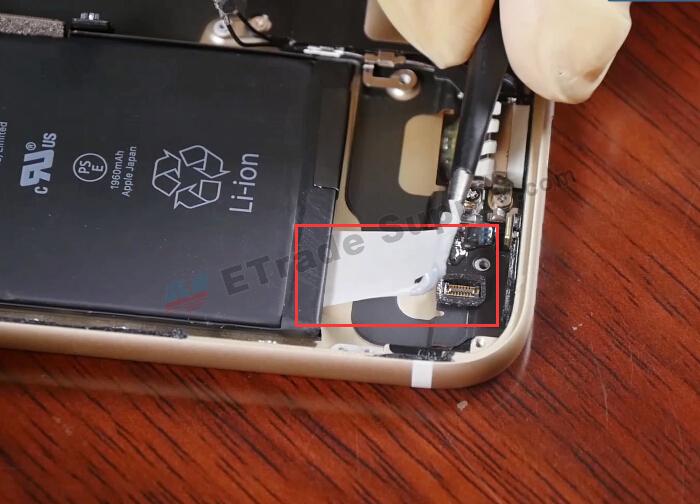
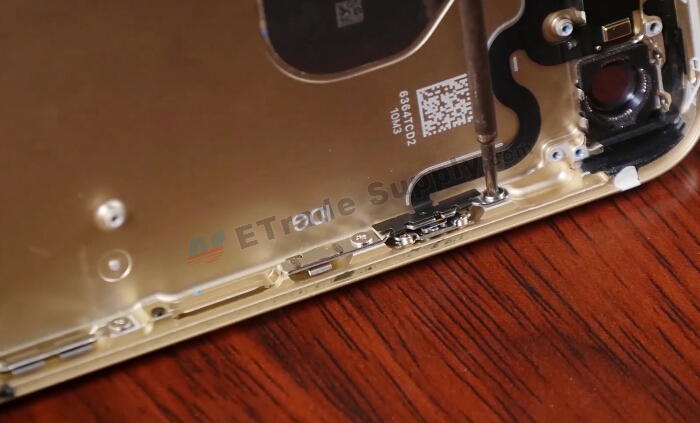
Step 16. Disconnect the charging port flex cable connector, signal cable clips, and side button flex cable connector.

Undo all Philips screw holding the motherboard.
then motherboard can be removed.
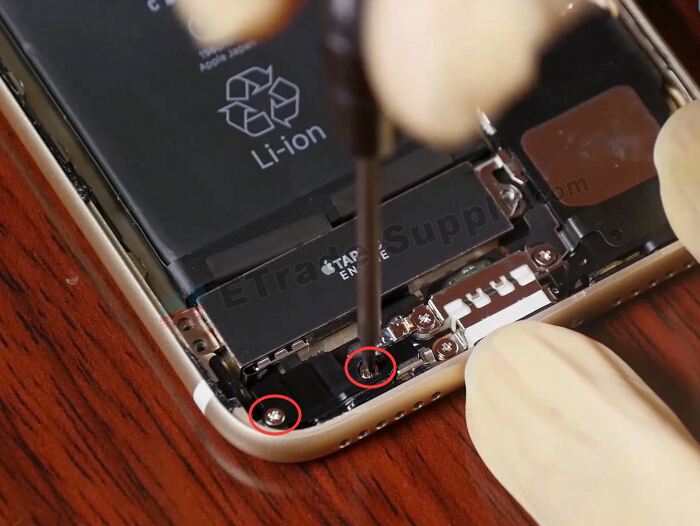
Step 17. Undo 3 Small Philips screws holding the vibrating motor.
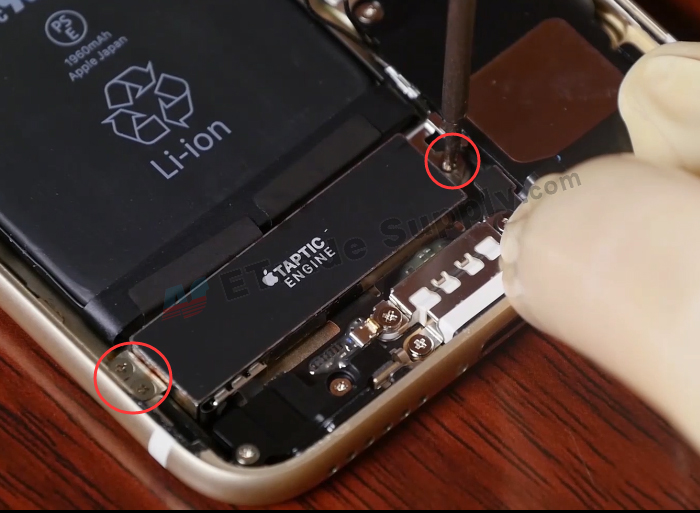
Step 18. Undo 2 Small Philips screws then remove the cover.

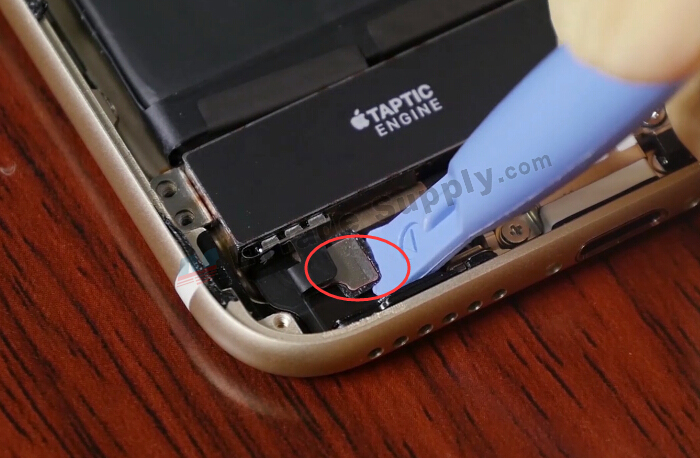
Step 19. Disconnect the Taptic engine connector then release it.

Step 20. Gradually pull out the battery adhesive to release the battery.
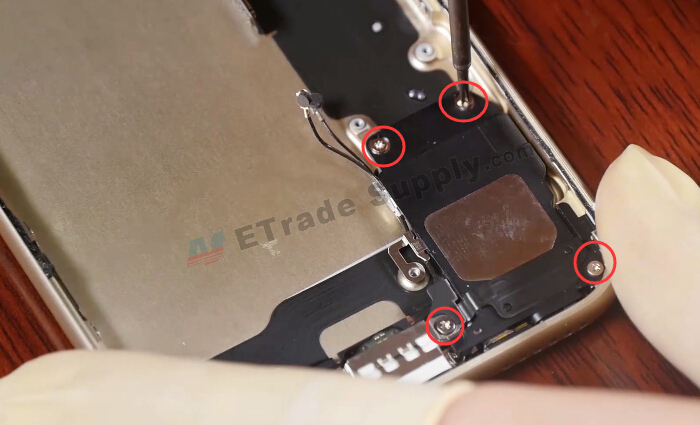
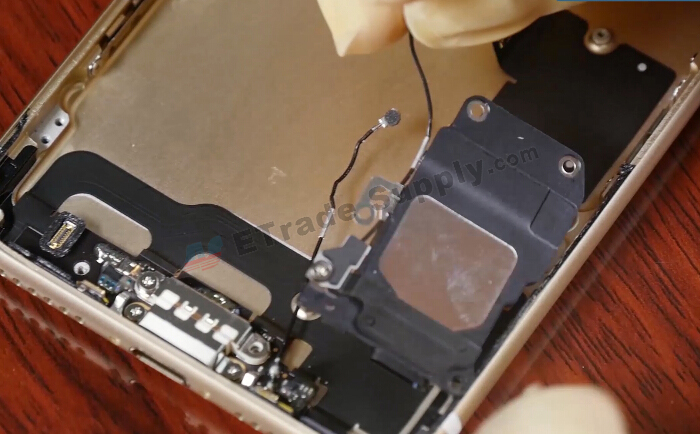
Step 21. Undo 4 small Philips screws holding the loudspeaker then release loudspeaker.
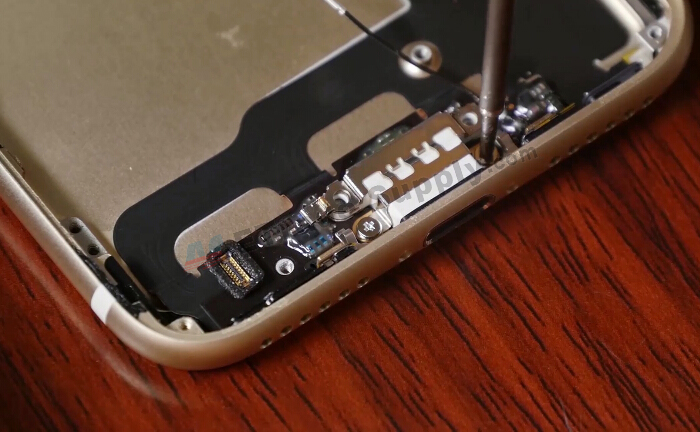
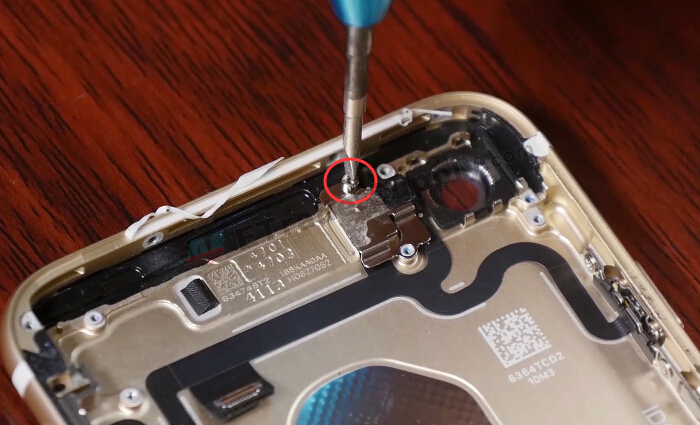
Step 22. Undo 5 small Philips screws securing the charging port flex cable assembly then remove the charging port cable.
Step 23. Undo 5 small Philips screws and 1 Philips screw then remove the power button flex cable.

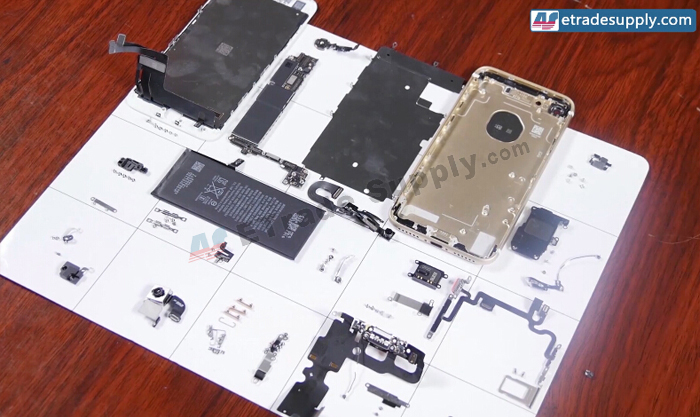
Job did! This is the whole disassembly process of the iPhone 7.
Check our iPhone 7 teardown video!
iPhone 7 Plus disassembly is coming soon, if you like our blog don't hesitate to give us a like, any idea or suggestions are welcomed!
Need iPhone 7 repair parts replacement please visit: iPhone 7 parts
You may also like:
- iPhone X Tear-down/Disassembling
- How to Disassemble/Tear Down/Take Apart iPhone 6
- Analysis On China Made iPhone 7 Series LCD Screen Replacement
- How to Teardown iPhone 7 Plus to Replace Screen
- Is it worth buying the iPhone X?
Summary
Reviewer Nike
Review Date
Reviewed Item
Useful guide for DIY repair iPhone 7
Author Rating
5

How To Replace Iphone 7 Screen And Digitizer
Source: https://www.etradesupply.com/blog/how-to-teardown-iphone-7-to-replace-screen-battery-and-charging-port-replacement/
Posted by: hardinaporged.blogspot.com
0 Response to "How To Replace Iphone 7 Screen And Digitizer"
Post a Comment